Cove Moulding For Top Of Uneven Kitchen Cabinet - How To Install Kitchen Wall Cabinets Lowe S - Leaving the cabinets 6 inches short of the ceiling is a great solution if the kitchen has a high ceiling.
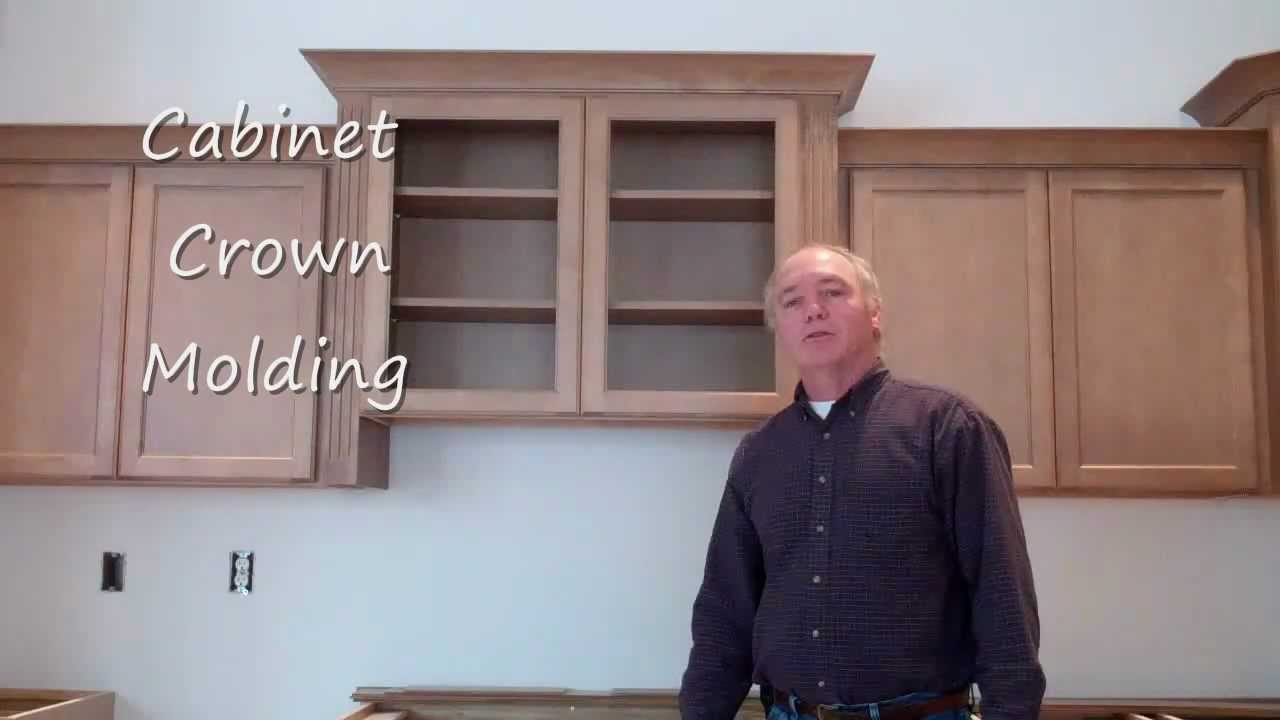
Cove Moulding For Top Of Uneven Kitchen Cabinet - How To Install Kitchen Wall Cabinets Lowe S - Leaving the cabinets 6 inches short of the ceiling is a great solution if the kitchen has a high ceiling.. How to install crown molding on kitchen cabinets. Kitchen cabinet molding and trim are sometimes unavoidable for some conditions. We are building a new house and have just installed our upper cabinet boxes with a simple straight crown that goes to the ceiling. Cuts are made while crown molding is upside down. Our mouldings will add the final touches needed to finish any room or project.
Using a starter or riser molding in conjunction with a crown molding also provides the ability to better disguise an uneven ceiling, as one end of the crown molding may be mounted. If the toe kick board fits too snugly in some areas because of an uneven floor use a hand held planer to shave off small amounts of wood at the. Crown molding can be tricky if you move too fast. Leaving the cabinets 6 inches short of the ceiling is a great solution if the kitchen has a high ceiling. Hold the second piece of crown tight against the first piece, then nail it to the cabinets.
Crown Mouldings On Varying Cabinet Heights Stonehaven Life from stonehavenlife.com You can thus do this on your own or hire a professional. We used the 39 tall cabinets because that left a decent space between the cabinets and the counter. For the pantry cabinet that is shown in this tutorial, i used a 1×4 and a 1×2 because my cabinets. I would like to make the face of the 30x30x12 wall cabinet that will be above the stove/oven be 15 from the wall so i can add crown molding to all the wall cabinets later on. Measure the side of the cabinet at the top to the long point of the mitered corner on the top piece of cove molding that you just put on. Hold the second piece of crown tight against the first piece, then nail it to the cabinets. A starter or riser molding is mounted to the cabinet top in order to simulate an extension of the cabinet box, allowing the crown molding to be installed higher. Apply cove base adhesive in thin zig zagging lines along the back side of a molded corner section of rubber cove base.
Test the fit around each corner first before installing.
Unfinished beech the 30 in. In these cases, designers frequently extend the crown molding and trim all the way to the ceiling. Measure the width of the cabinet and cut your first 1×2 to that measurement. Measure the side of the cabinet at the top to the long point of the mitered corner on the top piece of cove molding that you just put on. A starter or riser molding is mounted to the cabinet top in order to simulate an extension of the cabinet box, allowing the crown molding to be installed higher. If there is an unusually irregular or large gap between the countertop and wall, you may not have an option other than to cover it with trim; How to install crown molding on kitchen cabinets. See more ideas about cove molding, molding, crown molding. Apply instatrim to window and door trim instead of weather stripping to keep your energy bills low, use it instead of wood edging to cover uneven gaps around baseboards, floors and wall cabinets or apply this peel and stick caulk on the base of a toilet to keep your bathroom sanitary and easy to keep clean. Our mouldings will add the final touches needed to finish any room or project. No ones ceiling is usually level enough to not use moldings. But with lower ceilings, we need other solutions. Measure the length of the front piece of baseboard.
Mark all sides of the cabinet onto which you will be attaching crown moulding. A starter or riser molding is mounted to the cabinet top in order to simulate an extension of the cabinet box, allowing the crown molding to be installed higher. (use one long strip for a row of cabinets the same depth.) then apply wood glue to each strip, nail it in place, and let dry. Leaving the cabinets 6 inches short of the ceiling is a great solution if the kitchen has a high ceiling. Using a starter or riser molding in conjunction with a crown molding also provides the ability to better disguise an uneven ceiling, as one end of the crown molding may be mounted.
Kitchen Cabinet Crown Molding Youtube from i.ytimg.com If the gap between the cabinet and the soffit is small i can caulk it and paint it to match the wall, but when it is way out of level ( i had one that was 1 out), i don't know the best way to handle it. Apply instatrim to window and door trim instead of weather stripping to keep your energy bills low, use it instead of wood edging to cover uneven gaps around baseboards, floors and wall cabinets or apply this peel and stick caulk on the base of a toilet to keep your bathroom sanitary and easy to keep clean. Mark all sides of the cabinet onto which you will be attaching crown moulding. Wm94 solid pine cove moulding covers uneven seams where a wall meets a ceiling. Apply cove base adhesive in thin zig zagging lines along the back side of a molded corner section of rubber cove base. Using a starter or riser molding in conjunction with a crown molding also provides the ability to better disguise an uneven ceiling, as one end of the crown molding may be mounted. 36″ cabinets are mounted at 90″ on top so you can't use moldings and 36″ cabinets. We are building a new house and have just installed our upper cabinet boxes with a simple straight crown that goes to the ceiling.
Apply cove base adhesive in thin zig zagging lines along the back side of a molded corner section of rubber cove base.
Our mouldings will add the final touches needed to finish any room or project. You should remove the soffit and use 30″ cabinets with a two piece molding reaching the ceiling. Leaving the cabinets 6 inches short of the ceiling is a great solution if the kitchen has a high ceiling. Unfinished beech the 30 in. We are building a new house and have just installed our upper cabinet boxes with a simple straight crown that goes to the ceiling. Cuts are made while crown molding is upside down. Or shim down the ceiling to perfectly level and use 36″ cabinets and no moldings. The soffits are never level. The modern design creates a stylish finishing touch for any room. Crown molding can either bond with the ceiling or allow for space above the cabinet. Crown molding is decorative trim that is added to the top of your cabinets. Crown molding can be tricky if you move too fast. Hold the second piece of crown tight against the first piece, then nail it to the cabinets.
If the gap between the cabinet and the soffit is small i can caulk it and paint it to match the wall, but when it is way out of level ( i had one that was 1 out), i don't know the best way to handle it. The soffits are never level. Mark all sides of the cabinet onto which you will be attaching crown moulding. The benefit of installing crown molding is that it draws the eye upward, showcasing the elegance of your cabinets. Or shim down the ceiling to perfectly level and use 36″ cabinets and no moldings.
Kitchen Cabinets Best Kitchen Cabinet Designs from www.designerappliances.com Crown molding can be tricky if you move too fast. Swing the miter saw to 45 degrees and cut the miter for. Also called shoe or floor mould, this narrow moulding provides a transition between finished floors and walls or cabinets; (see pic) after installing the trim piece on the crown of the cabinets, we saw how bad and uneven the ceiling was. Toe kick kitchen cabinet base molding. Wm94 solid pine cove moulding covers uneven seams where a wall meets a ceiling. Install molding on uneven ceiling. Test the fit around each corner first before installing.
Leaving the cabinets 6 inches short of the ceiling is a great solution if the kitchen has a high ceiling.
Also called shoe or floor mould, this narrow moulding provides a transition between finished floors and walls or cabinets; Unfinished beech filler strip comes in unfinished beech that is ready to be painted or stained to match your wall or base cabinets. Measure the length of the front piece of baseboard. Mark all sides of the cabinet onto which you will be attaching crown moulding. Question i make frameless cabinets, but when i install them in a kitchen that has a soffit, i have problems. Hold the second piece of crown tight against the first piece, then nail it to the cabinets. Ikea wall cabinets come in heights of 30 or 39. Wm94 solid pine cove moulding covers uneven seams where a wall meets a ceiling. Tips for installing trim on a countertop include: For the pantry cabinet that is shown in this tutorial, i used a 1×4 and a 1×2 because my cabinets. The soffits are never level. If the gap between the cabinet and the soffit is small i can caulk it and paint it to match the wall, but when it is way out of level ( i had one that was 1 out), i don't know the best way to handle it. The modern design creates a stylish finishing touch for any room.


No comments:
Post a Comment